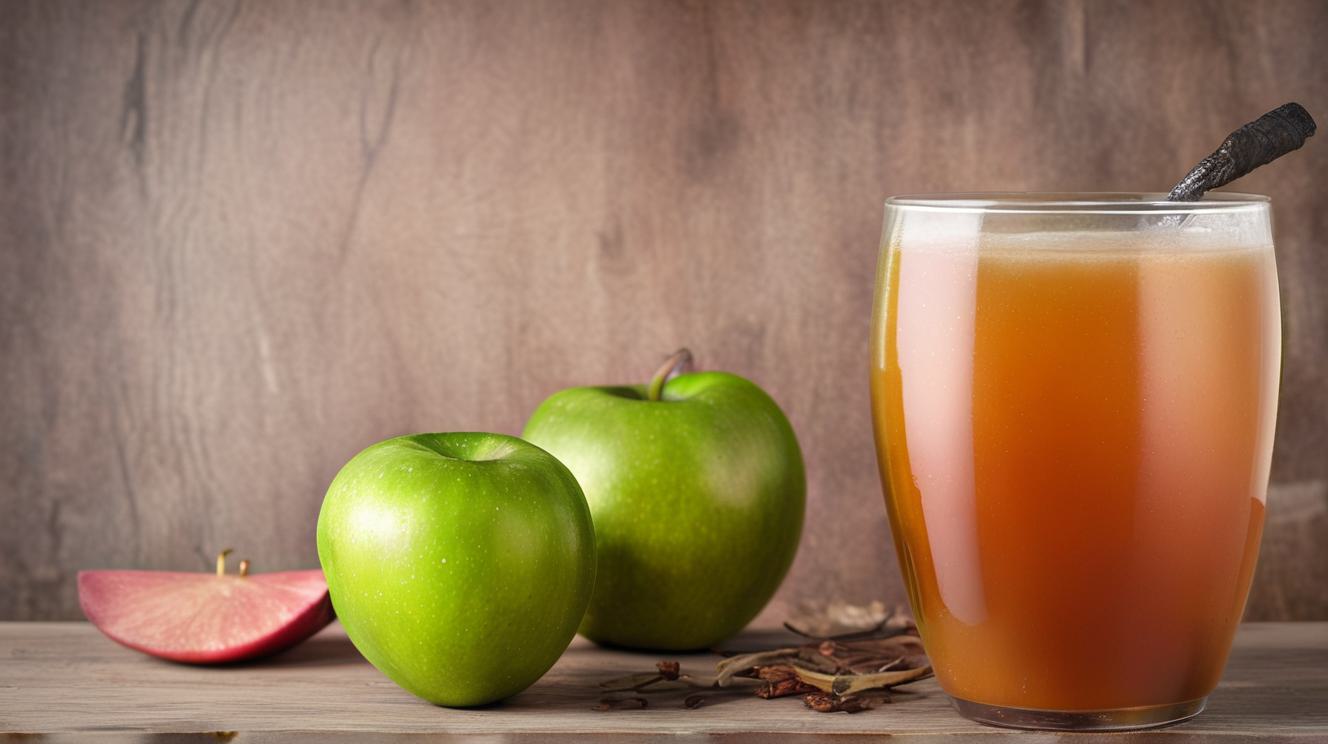
Making Homemade Apple Cider: Crafting a Refreshing Delight
Making homemade apple cider is an engaging activity that allows you to create a refreshing beverage with a unique taste. Crafting your cider at home is easy and enjoyable. Let’s explore the fundamental stages of this process.
Step 1: Ingredient Preparation
Choose high-quality apples, ideally using several varieties to create a complex flavor. The apples should be ripe but not overripe. Thoroughly wash them before use.
Step 2: Apple Crushing
Use a crusher or a knife to cut the apples into small pieces. This aids in better juice extraction and expedites the fermentation process.
Step 3: Juice Extraction
Press or use other methods to extract juice from the sliced apples. The obtained juice serves as the foundation for your cider.
Step 4: Adding Yeast
To initiate fermentation, add yeast to the juice. The choice of yeast influences the cider’s taste. Wait for the vigorous fermentation, which may take several days.
Step 5: Fermentation and Aging
Transfer the juice to a fermentation vessel and let it ferment. Monitor the temperature and fermentation time. Afterward, move the cider to another container for aging, adding extra aromatic notes.
Step 6: Bottling and Readiness
Upon completing the aging process, bottle the cider. You can adjust sweetness and carbonation by adding extra ingredients. Seal the bottles tightly and let the cider rest.
Step 7: Tasting and Joy
When the cider reaches the desired readiness, it’s time for tasting. Enjoy your homemade cider with friends and family.
Creating homemade apple cider is a creative process that allows you to control each stage and produce a beverage that perfectly reflects your taste preferences. Experiment, create unique flavors, and share the joy with those around you. Homemade cider is not just a drink; it’s a reason to take pride in your own creation.


